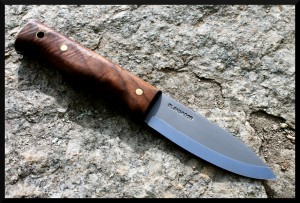
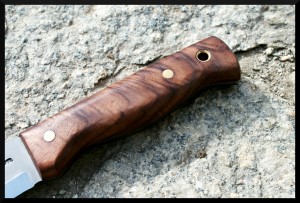
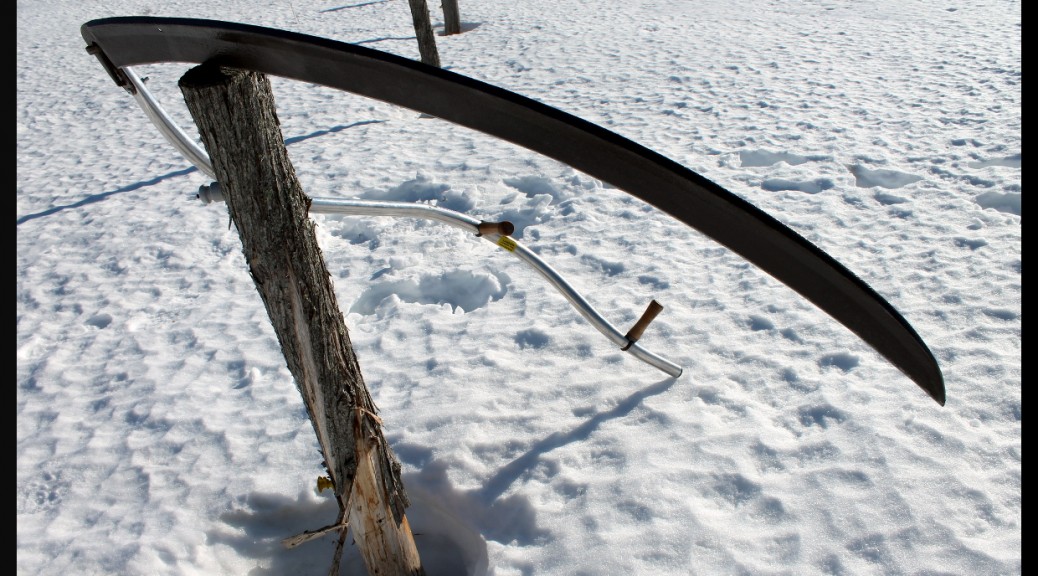
Once in a great while we have a knife or tool come in that’s especially stunning, and this knife is one of them! Gorgeous figuring in those walnut scales. This is one Bushlore that’s dressed to impress!
Monthly Archives: March 2015
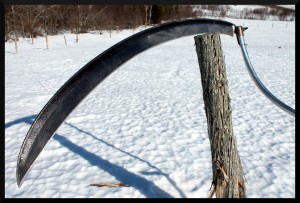
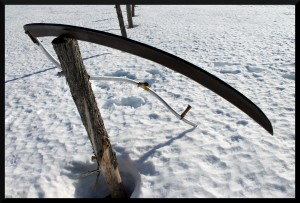
American Scythe Restoration: Emerson & Stevens “Clipper” Grain Cradle Blade
Don’t Lose Your Head! (GRAPHIC)
Back in the fall one of my personal friends had to help put down a road-injured doe, and only had his Baryonyx Machete in the truck with him. Here’s what happened:
One hit was all it took. Looks like a laser took it off!
Find this and other cool tools at www.BaryonyxKnife.com!
Finding The Balance
Establishing the actual balance point of asymmetric tools like scythes or axes can be fairly difficult, since the real point of balance often lies external to the body of the tool itself. The following shows a method using a plumb line, two suspension points, and photo overlays to approximate the location of the center of gravity.
Why bother with this, you ask? It depends on the tool. With scythes it can assist in adjusting the horizontal balance or determining the “power” of the unit relative to its overall weight, with axes it can help in determining an ideal head and handle pairing (of particular importance in axes with a minimal or totally absent poll, like the one shown here) and with both tools it can aid in establishing the proper hang of the blade/bit. The axis of rotational balance for an axe will lie along a line passing through both the grip point and the center of gravity.
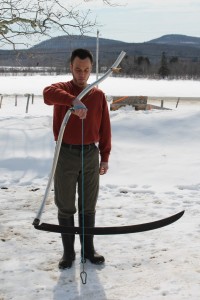
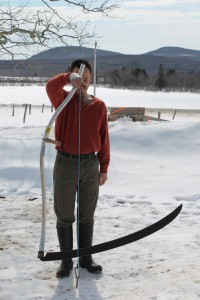
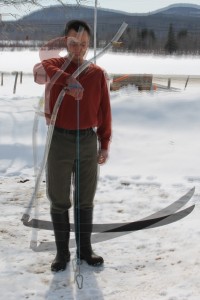
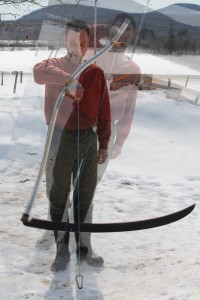
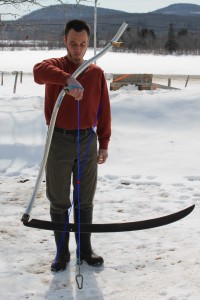
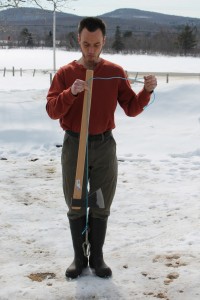
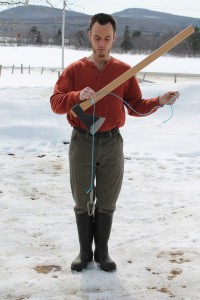
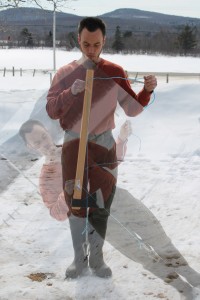
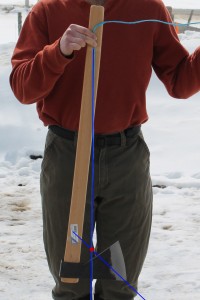
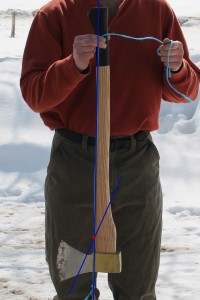
About the tools: The scythe is a vintage Beardsley grain cradle blade on a Seymour Midwest Tools No.8 aluminum snath while the axe is a Rinaldi “Calabria” Heavy Duty Axe. Check them both out at www.BaryonyxKnife.com!
Adjusting the Tang Angle of American Pattern Scythe Blades
American pattern scythe blades traditionally come from the factory with the tang flat, and they are adjusted to the proper angle for the user and their snath by heating and bending for optimal mowing performance. This image series shows our method of going about it, using a Seymour Midwest Tools 30″ grass blade. If you do not have the tools necessary to perform the bending yourself, a local blacksmith, machine shop, or auto mechanic will likely be able and willing to perform the job.
The angle you will need will depend on your height, stance when mowing, the tuning of your snath, how much bend or “lift” there is in the neck of your snath (typically about 25° in most American snaths) and your intended mowing environment. In general a good rule of thumb is that the edge should ride about the thickness of your fingertip above the ground when in mowing stance. A lawn blade may need a slightly lower lay, and if mowing in very heavy or thick vegetation or on bumpy terrain a slightly higher lay may be preferred. See where your blade rides with the tang unbent and determine how much you want to lower it. This will be the amount of bend you’ll be introducing to the tang.

Clamp the blade securely in a sturdy vise. Care should be taken so that when the tang is torqued the strain is carried by the rib rather than the thin web of the blade (the span between the rib and the edge.) Here aluminum vise pads are being used both to appropriately manage the sites of pressure, but also to avoid marring the blade.

Heating the shank of the tang to prepare it for bending requires caution to avoid also heating the edge at the heel of the blade. We use an induction heater, which rapidly heats a narrow band of steel within the confines of its electromagnetic coil, but this is an option few will have. A torch (either MAP gas or oxy acetylene) is much more common, but greater care must be taken with them to mitigate heat migration away from the site of application. A raw potato can be stuck on the edge to shield it from the torch flame as it’s applied to the shank of the tang, or the base of the blade wrapped with a soaking wet rag to act as a heat sink. Try to keep the heat as confined to to the shank as possible, as this is where you want the bending to occur. Bring the metal to at least moderate red heat before attempting to bend.

Now that the tang has been brought to sufficient heat, twisting force needs to be applied to the tang to impart the desired angle of lift–what is known as the “cray” or the “tack” of the tang. A bending fork is the ideal way to do this (it makes it much easier to control the bend) but you can slip a pipe of appropriate dimensions over the tang to do the job as well.

The bending fork or pipe should be close at hand during the heating process so you can get it in position without losing too much of your heat. Apply your pressure in a smooth and controlled manner so you can gauge if excessive stress is being placed on the blade itself. If resistance becomes too great, reapply heat as necessary. It is ideal, however, to get the tang angle set in a single heat.

After bending, allow the tang to air cool–DO NOT QUENCH. Cooling the blade with water or by other rapid means would harden the steel, rendering it brittle. You want the metal to cool slowly so that it will be soft and tough to better resist strain during mowing, and prone to bend rather than snap if abused. Water may be pooled on the heel of the cutting portion of the blade after bending to act as a heat sink to protect against heat migration through the steel, ensuring the temper is not drawn out of the edge, but be careful not to allow it to boil up onto the tang portion where it could cause accidental quenching and hardening.


